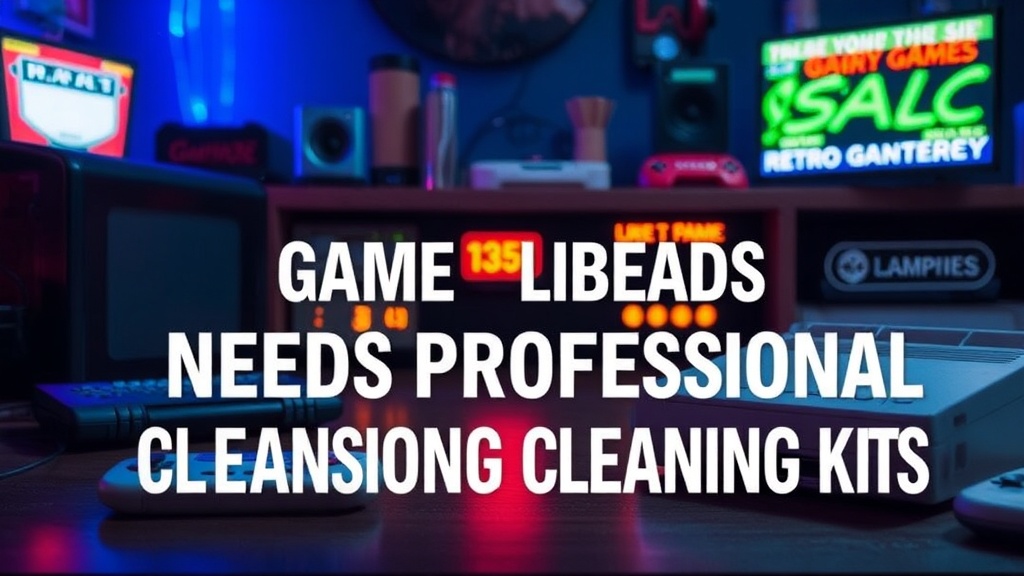
Why Your Retro Game Library Needs Professional Cleaning Kits

Imagine unboxing a long-lost copy of a rare RPG, only to find the gold-plated pins are covered in a dull, greenish oxidation. You slide the cartridge into your console, press the power button, and—nothing. The screen stays black. This isn't just a bad luck streak; it's a common reality for collectors dealing with decades of environmental exposure. Cleaning your hardware isn't about making it look pretty; it's about restoring the physical connection required for the software to function. Without the right tools, you're just scratching the surface of a much deeper problem.
Most people reach for a cotton swab dipped in generic rubbing alcohol or, heaven forbid, a toothpick to scrape away gunk. These methods often do more harm than good. A toothpick can scratch the delicate copper traces, while low-grade alcohols can leave behind residues that actually attract more dust. To keep a collection running, you need to understand the specific tools and substances that interact safely with vintage electronics. This post covers the hardware you actually need to maintain your library without destroying the value of your items.
Is Isopropyl Alcohol Safe for All Retro Consoles?
The short answer is: it depends on the concentration. When we talk about cleaning PCB (Printed Circuit Board) components or cartridge pins, you want high-purity isopropyl alcohol—ideally 91% or higher. Lower concentrations, like the 70% stuff found at most pharmacies, contain more water. Water is the enemy of vintage electronics because it takes longer to evaporate and can lead to corrosion or short circuits if it lingers in hard-to-reach areas.
When you're cleaning a cartridge, you aren't just removing dirt; you're breaking down oils from fingerprints and oxidized metal. A high-percentage alcohol acts as a solvent that evaporates almost instantly. However, even with the right alcohol, you must be careful with the application. Never pour liquid directly onto a board. Instead, use a specialized tool to apply a controlled amount. A common mistake is using too much-induced liquid can seep under the chips and cause permanent damage to the traces.
"Precision is the difference between a working console and a paperweight. One drop too many can end a collection."
If you're looking for technical specifications on how electronic components react to different solvents, the Electronics Notes archive provides great context on how moisture affects circuitry. Understanding these basics helps you realize why a 'quick wipe' isn't a substitute for a proper maintenance routine.
What Are the Best Tools for Cleaning Game Cartridges?
Standard household items usually fail the test of professional-grade maintenance. If you want to do this right, you need to build a small kit. A solid foundation includes:
- High-Percentage Isopropyl Alcohol: As mentioned, 91% or 99% is the gold standard.
- ESD-Safe Brushes: Static electricity is a silent killer. Using a standard paintbrush can discharge static into a sensitive chip. An Electrostatic Discharge (ESD) safe brush ensures you aren't frying your hardware while cleaning it.
- Cotton Swabs: Use high-quality, tightly wound swabs that won't leave lint behind. A stray piece of cotton stuck in a cartridge slot is a nightmare to remove.
- Contact Cleaner: For more stubborn oxidation on console ports, a specialized electronic contact cleaner (like those used in automotive or high-end audio) can be a lifesaver.
For those who want to see how professional-grade cleaning looks in practice, watching a teardown on a site like iFixit can show you exactly where the most vulnerable points are on a device. It's one thing to clean a cartridge; it's another thing entirely to clean a console's internal motherboard.
How Do I Clean a Console Without Breaking It?
Cleaning the console itself—the actual machine—is much higher stakes than cleaning a cartridge. You are dealing with an enclosed system with internal components that are highly sensitive to moisture and static. The most common area requiring attention is the cartridge slot. Over time, dust and skin cells settle in the slot, creating a barrier between the cartridge and the pins.
To clean a slot, use a specialized contact cleaner spray. These are designed to be used in aerosol form to blast out debris and leave a thin, non-conductive film that helps conductivity. If you're using a brush, be extremely gentle. You aren't trying to scrub the plastic; you're just clearing the path. If you press too hard, you can bend the spring-loaded pins inside the slot, rendering the console useless for that specific cartridge.
The process should always follow a specific order of operations:
- Power Down: Never clean a device while it's plugged in. Unplug the power cable and remove any batteries.
- Dry Debris Removal: Use a can of compressed air (held upright to avoid liquid propellant) to blow out loose dust. - Liquid Application: Use a swab or brush to apply the alcohol or contact cleaner to the pins or slot.
- Drying Time: Wait at least ten minutes. Even if it looks dry, microscopic moisture can remain.
If you're dealing with a console that has significant "leakage" or crusty residue inside, you're moving into the realm of advanced repair. This often involves opening the shell, which requires precision screwdrivers and a steady hand. For most collectors, focusing on the external ports and the cartridge pins is enough to keep the library playable for years to come.
Don't treat your collection like a chore; treat it like a delicate ecosystem. The more you respect the physical properties of the materials—the copper, the plastic, and the silicon—the longer your games will live. A little bit of caution today prevents a very expensive way to learn about static electricity tomorrow.