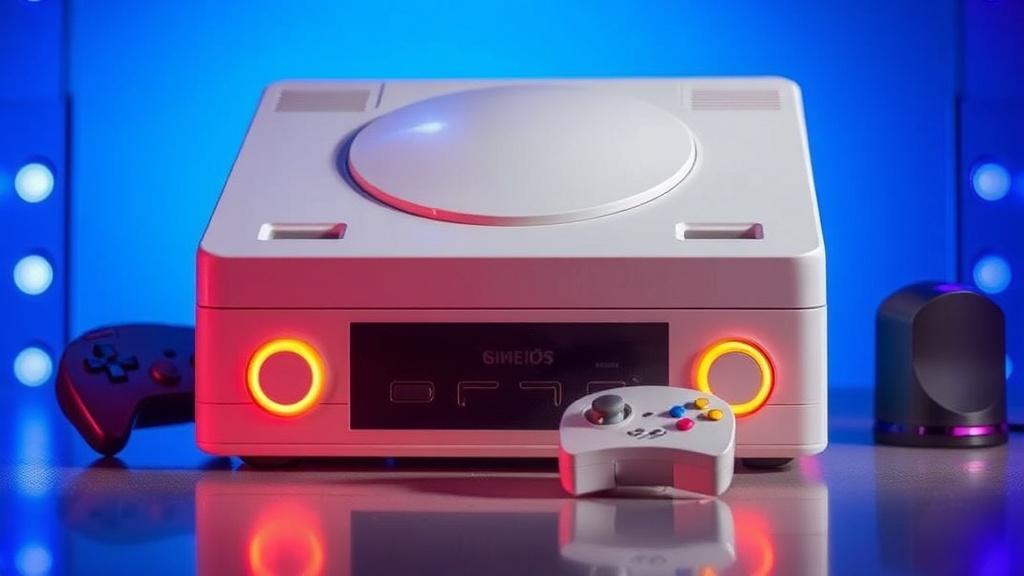
Keeping Your Retro Console Shells Bright and Shiny

In this guide, you'll learn how to clean, restore, and maintain the plastic housing of your vintage gaming consoles to prevent yellowing and surface damage. We'll cover the science of retrobromic discoloration, the safest cleaning agents for different types of plastic, and how to handle delicate components without causing permanent harm. Whether you're looking to refresh a dull Super Nintendo or save a yellowed original Xbox, these methods focus on safe, effective restoration.
Why Do Vintage Consoles Turn Yellow?
The yellowing you see on many classic consoles is a chemical reaction called retrobromism, caused by the breakdown of flame retardants within the plastic. Most manufacturers in the 80s and 90s used bromine-based flame retardants to meet safety standards. Over time, exposure to UV light and heat causes these chemicals to oxidize, creating that unmistakable aged, yellowish tint. It isn't just surface dirt—it's a change in the actual structure of the plastic.
It's a frustrating reality for collectors. You find a pristine-looking Sega Genesis, only to realize the shell has turned a sickly shade-of-mustard once you get it home. This isn't just an aesthetic issue; it can actually indicate how much heat or sunlight the unit has been exposed to. If you've kept your collection in a bright room or near a window, you've likely accelerated this process.
While many people jump straight to harsh chemicals, you need to understand what you're working with. Different plastics react differently to liquids and abrasives. For instance, the matte finish on a PlayStation 1 is much more sensitive than the glossy shell of a Nintendo 64. If you go too heavy-handed, you might end up with a permanent dull patch that no amount of polishing can fix.
To understand the chemistry behind this more deeply, you can read about brominated flame retardants on Wikipedia. Knowing the "why" helps you realize that you aren't just cleaning a surface—you're attempting to reverse a chemical reaction.
How Do I Clean Plastic Shells Safely?
The safest way to clean standard surface grime is by using a mixture of mild dish soap, warm water, and a soft microfiber cloth. Most of the time, a "dirty" console just has a layer of skin oils and dust that can be wiped away without any intense chemical intervention. You want to avoid getting any liquid into the vents or the internal circuitry, though.
Here is a quick breakdown of common cleaning methods and when to use them:
- The Mild Method: Use a damp (not dripping) microfiber cloth with a drop of Dawn dish soap. This is perfect for removing fingerprints and light dust from a Game Boy Color or a SNES.
- The Isopropyl Method: Use 70% or higher Isopropyl alcohol on a cotton swab for stubborn spots or residue. Never pour this directly onto the console; apply it to the tool first.
- The Deep Clean: For heavy grime in crevices, a soft-bristled toothbrush is your best friend. It can reach the tiny grooves around buttons that a cloth simply can't touch.
The catch? Alcohol is a solvent. If you use too much or use a lower-grade version with additives, you might damage the texture of the plastic. I've seen people ruin the finish on a translucent clear shell by being too aggressive with alcohol. Be gentle. If a spot won't come off with soap and water, move to a slightly stronger solution, but don't rush it.
One thing to watch out for is the rubberized coating found on some later-era controllers. If you use harsh solvents on these, they can become incredibly sticky or even peel off entirely. It’s a mess to clean up once it starts. If you're dealing with a controller that feels "tacky," stick to a very mild soap solution and see if that helps before trying anything more drastic.
Can I Use Retrobrighting to Fix Yellowing?
Yes, you can use a process called "Retrobrighting" to reverse yellowing, which involves applying high-strength hydrogen peroxide and exposing the plastic to UV light. This method is popular in the community because it can actually work, but it carries significant risks if you aren't careful. It’s essentially a controlled bleaching process designed to neutralize the oxidized bromine.
Most enthusiasts use a cream-based hydrogen peroxide (often sold as hair bleach developer) or a liquid soak. The goal is to coat the plastic, wrap it in plastic film to prevent drying, and then place it under a UV lamp or in direct sunlight. This is a long process—sometimes taking several days of constant exposure.
Before you try this, look at this comparison of common restoration approaches:
| Method | Effectiveness | Risk Level | Best For |
|---|---|---|---|
| Soap & Water | Low (Surface only) | Very Low | General dust and oils |
| Isopropyl Alcohol | Medium (Stains/Residue) | Low/Medium | Sticky spots and grime |
| Retrobrighting | High (Yellowing) | High | Severe discoloration |
Worth noting: Retrobrighting is not a permanent fix for every single piece of plastic. Some plastics may undergo "re-yellowing" much sooner than others once the process is complete. You're essentially fighting a losing battle against the natural degradation of the material, so do it with the expectation that it might happen again. It's a temporary victory, not a permanent cure.
If you decide to go the hydrogen peroxide route, please check the CDC guidelines on chemical safety. Hydrogen peroxide in high concentrations is a skin and eye irritant. It's not just "soap and water"—it's a chemical process that requires respect and proper safety gear like gloves and eye protection.
Common Mistakes to Avoid
I've seen so many collectors accidentally ruin perfectly good consoles because they wanted a quick fix. Here are the biggest pitfalls to watch out for:
- Using Bleach: Never use household bleach (sodium hypochlorite) directly on your console. It is far too aggressive and can cause permanent structural damage or white spotting on the plastic.
- Excessive Heat: While heat is used in the Retrobrighting process, uncontrolled heat (like a hairdryer) can warp the plastic or melt internal components.
- Abrasive Pads: Avoid using the green side of a kitchen sponge or heavy scouring powders. These will leave micro-scratches that make the plastic look dull and "cloudy" forever.
- Liquid Intrusion: This is the big one. Even if you're just cleaning the outside, one slip of a wet cloth can send moisture into the motherboard. Always work with the console disassembled if you're doing a deep clean.
The more you practice, the more intuitive it becomes. When I first started collecting, I was terrified of even touching my consoles with a damp cloth. Now, I feel much more confident, but I still treat every piece like it's fragile. Because, well, it is. These are pieces of history, after all.
If you're working on a high-value item—say, a mint-condition Nintendo Entertainment System—you might want to reconsider any chemical restoration at all. In the high-end collecting world, "original patina" is often valued more than "perfectly white but chemically altered." Think about your end goal. Are you cleaning it to play it, or are you cleaning it to sell it? Your answer should dictate your level of aggression.
For those who are serious about long-term preservation, the best way to keep a console bright is to prevent the damage from happening in the first place. Keep your collection in a climate-controlled environment, away from direct sunlight, and in a cool, dry space. UV-protected display cases are a great investment if you have a particularly prized piece of hardware.
Steps
- 1
Assess the Plastic Type
- 2
Prepare a Mild Cleaning Solution
- 3
Apply Gentle Pressure with Microfiber
- 4
Dry Thoroughly Before Use