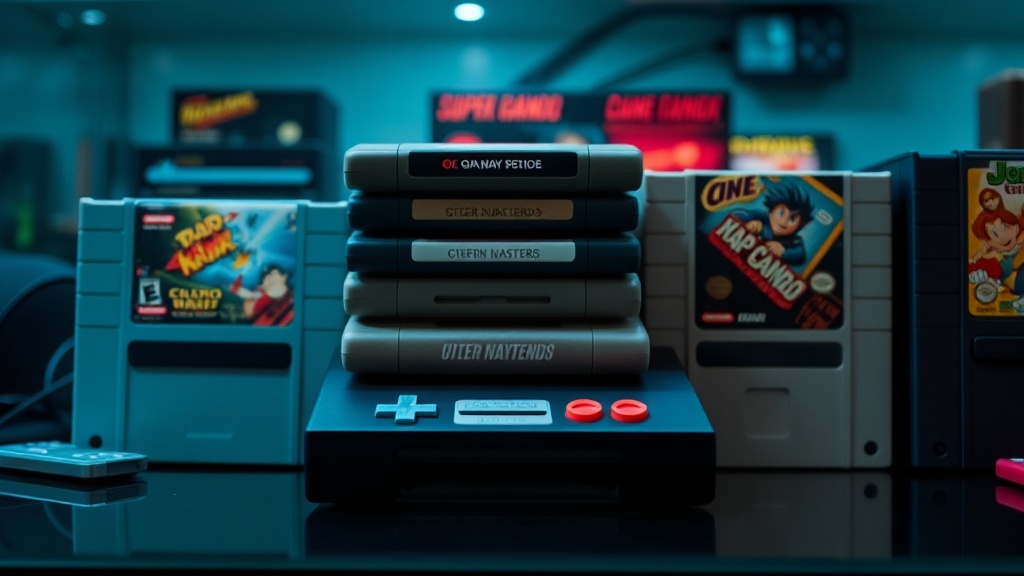
How to Clean, Store and Display Vintage Game Cartridges Like a Pro

Vintage game cartridges are more than plastic shells and circuit boards—they're pieces of gaming history that deserve proper care. This post covers exactly how to clean, store, and display retro cartridges so they stay playable and presentable for years. Whether you're sitting on a stack of NES gold carts or a curated shelf of Sega Genesis favourites, the right techniques prevent corrosion, label damage, and that heartbreak of a dead save battery.
What's the Safest Way to Clean Vintage Game Cartridges?
The safest approach is gentle, dry cleaning first—followed by targeted spot treatment with 99% isopropyl alcohol on the contacts only. Harsh chemicals, tap water, and abrasive scrubbing are the fastest routes to ruined labels and corroded pins.
Dust and grime build up over decades. That grey film on cartridge contacts? It's oxidation. Left alone, it causes flickering screens, read errors, and outright failure. Here's the thing: most collectors panic and reach for whatever cleaner is under the sink. Don't. Windex, bleach, and vinegar all eat away at plastic and paper labels.
Before touching anything, gather the right supplies. You'll want:
- 99% isopropyl alcohol (lower concentrations leave moisture behind)
- Q-tips cotton swabs (the name-brand ones hold shape better)
- A soft microfiber cloth
- Compressed air
- DeoxIT D5 contact cleaner (for stubborn oxidation)
- A plastic spudger or old credit card (for extremely careful label edge lifting)
Start by blowing out loose dust from the cartridge slot with compressed air. Hold the can upright—tilting it sprays propellant that leaves residue. Next, dampen (don't soak) a Q-tip with isopropyl alcohol and swipe the copper or gold contacts in one direction. Flip the cartridge and repeat. You'll see the Q-tip turn grey. That's the oxidation coming off. Use a fresh swab until it stays clean.
Worth noting: never scrub the label. If there's a sticky price tag from a long-gone Fredericton flea market, warm it gently with a hair dryer on low and peel slowly. Residue can be lifted with a tiny amount of lighter fluid on a cotton ball—applied to the sticker, not the label directly. The catch? Old rental stickers are sometimes laminated into the plastic and can't be removed safely. Leave them. A worn Blockbuster sticker tells a story; a torn label tells a tragedy.
For the plastic shell, a slightly damp microfiber cloth works fine. Persistent scuffs respond to a tiny dab of Novus 1 Plastic Clean & Shine. Avoid Magic Erasers—they're micro-abrasives and will matte the finish.
How Should You Store Old Nintendo and Sega Cartridges Long-Term?
Store cartridges vertically in a cool, dry, dark environment inside acid-free polypropylene sleeves or rigid cases. Humidity and UV light are the two biggest threats to labels and internal components, so climate control matters more than fancy containers.
Think of cartridge storage like wine storage—stable temperature, no sunlight, minimal handling. Basements and attics are terrible choices. Temperature swings cause condensation inside the shell, which breeds corrosion on the PCB. A closet in a climate-controlled room is ideal.
Vertical storage prevents warping and reduces pressure on the contacts. Horizontal stacking—piling cartridges on top of each other—crushes the bottom cases over time and can crack the plastic. If you must stack, use sturdy bins with no more than ten cartridges per layer.
Here's a quick comparison of common storage methods:
| Storage Method | Best For | Pros | Cons |
|---|---|---|---|
| Polypropylene Sleeves (RetroProtection) | Budget collections, bulk storage | Cheap, clear, acid-free | Thin; no impact protection |
| Hard Plastic Cases (VGBA or custom) | High-value games, display prep | Impact resistant, stackable | Bulkier and more expensive |
| Airtight Bins (Iris Weathertight Totes) | Large collections, long-term archiving | Blocks moisture and light | Can trap humidity if opened often |
| Shelf with Doors (IKEA BILLY with OXBERG) | Active collections, easy access | Looks great, blocks UV | Requires climate-controlled room |
That said, silica gel packets are your friends. Toss a few into every storage bin and replace them every six months. You can buy rechargeable desiccant canisters from Eva-Dry that last years—far better than disposable packets.
For Game Boy and Game Boy Advance cartridges, the save batteries are ticking clocks. A dead battery means lost saves, and leaked batteries can corrode the PCB. If you're handy with a soldering iron, replace CR2025 or CR1616 batteries before they die. If not, keep an eye (and nose) out for any battery swelling or white crust near the contacts. The Video Game History Foundation has excellent resources on why original hardware preservation matters for cultural memory.
What's the Best Way to Display a Retro Game Collection Without Damaging It?
The best display strategy keeps cartridges out of direct sunlight, away from heat sources, and protected from dust while still making them visible. UV-filtering acrylic cases, closed-back shadow boxes, and glass-front cabinets all work well.
A collection hidden in bins isn't a collection—it's a hoard. But displaying games openly on a shelf invites dust, fading, and accidental knocks. The balance is visibility with protection.
For single-cartridge showcases, UV-protective acrylic cases from RetroGameCases or Custom Game Cases let the label art shine while blocking harmful light. They snap shut securely and stack neatly. For wall displays, IKEA RIBBA frames (deep enough for NES carts) with UV-filtering glass work surprisingly well. Just don't hang them on exterior walls where temperature swings are harshest.
LED strip lighting looks fantastic behind a display shelf. The catch? Cheap LEDs generate heat. Stick to low-temperature COB LED strips and keep them six inches away from the cartridges. Incandescent bulbs and direct sunlight will bleach labels—Super Mario Bros. 3 will look like it went through a photocopier.
If you've got complete-in-box games, the cardboard is even more fragile. Use acrylic stands (like the ones from BCW Supplies) to prop boxes at a slight angle. Never lean them flat against a shelf back—they'll sag and crease. The Strong National Museum of Play in Rochester uses similar angled supports for their rare boxed games, and there's no shame in borrowing techniques from the pros.
Display Options That Work
- Floating shelves — clean look, easy to dust around, but keep away from windows
- Glass-door bookcases — blocks dust and pets (the real enemy of loose cartridges)
- Rotating countertop racks — great for showcasing a "now playing" rotation
- Drawer-style display cases — protects from light completely; best for rare variants
Are Reproduction Labels and Replacement Cases Worth It?
Original labels and shells are almost always more valuable than reproductions, so preservation beats replacement. That said, a badly torn label or cracked shell can be restored with high-quality repro parts if the game is a keeper, not a seller.
Collectors in the Fredericton retro scene are split on this. Some purists won't touch a repro label. Others argue that a quality replacement from sellers likeVGPC or Retro Game Repair Shop beats looking at a torn sticker every day. Here's the thing: if you ever plan to sell, disclose every replacement part openly. The market punishes hidden repros harder than honest ones.
For common titles like Duck Hunt or Sonic the Hedgehog, replacement is less controversial. For rare titles like EarthBound or Chrono Trigger, even a cracked original case is worth more than a pristine repro. When in doubt, keep the damaged original parts in a baggie stored with the cartridge. Future buyers—or future you—will appreciate the option.
Cartridge collecting isn't about perfection. It's about respect for the objects, the memories they hold, and the community that keeps them alive. Clean carefully. Store smartly. Display proudly. And if you ever need official guidance on hardware care, Nintendo's consumer support page still offers basic maintenance tips for legacy systems.
"A dirty cartridge isn't ruined. A poorly cleaned one might be."
Start with one shelf. Upgrade your storage as the collection grows. The games have already survived thirty-plus years—a little attention from you now means they'll be around for thirty more.