Console Comeback: Practical Steps for Diagnosing and Repairing Vintage Gaming Systems

Console Comeback: Practical Steps for Diagnosing and Repairing Vintage Gaming Systems
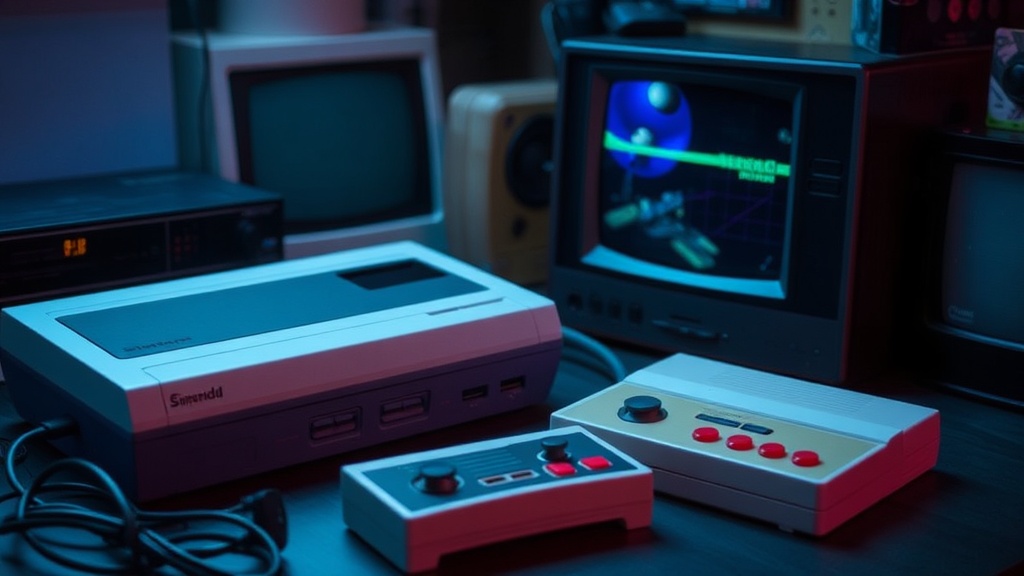
Imagine the quiet disappointment of plugging in your freshly acquired, coveted vintage console—a Super Nintendo perhaps, or a cherished Sega Genesis—only to be met with a blank screen, a garbled image, or the dreaded blinking power light. It’s a moment many collectors face. While the hunt for these pieces of gaming history is exhilarating, keeping them operational can present its own set of challenges. This piece isn’t about extensive board-level rework, but rather a guide to understanding common hardware failures in classic systems and the accessible, foundational steps you can take to diagnose and, in many cases, perform simple repairs yourself. The goal here is to empower collectors to extend the life of their beloved systems, preserving not just the console itself, but the joy of playing games as they were originally intended.
Understanding what often goes wrong is the first step toward a successful revival. Many vintage consoles suffer from predictable ailments, often due to age, material degradation, and environmental factors. Capacitors, for instance, are notorious culprits; these small, cylindrical components regulate power flow and, over decades, their electrolytic fluid can dry out or leak, leading to instability, audio hums, or complete system failure. Power supplies, both internal and external, are another frequent point of concern. Voltage regulators can fail, or the power brick itself might become unreliable. Cartridge slots and disc drive lasers also bear the brunt of mechanical wear and tear, accumulating dust, grime, and suffering from alignment issues. Pin connectors on cartridge-based systems become dirty or bent, preventing proper contact. Even button membranes and controller ports can wear out, leading to unresponsive inputs.
What are the most common points of failure in vintage consoles?
When a vintage console stops working, it’s rarely a mystery. The engineering of the era, while robust, relied on components with finite lifespans. We often see patterns in failures that can guide our troubleshooting. As mentioned, electrolytic capacitors are high on the list for almost any system from the 8-bit to 64-bit generations. They're critical for stable power delivery to various parts of the circuit board, and their failure can manifest as anything from distorted audio and video to a complete lack of power. Look for bulging tops or leaked brown residue around their bases on the motherboard—these are clear signs of trouble. Another ubiquitous issue involves connection points. Cartridge slots on Nintendo systems (NES, SNES, N64) become loose or corroded. Disc drives in systems like the PlayStation, Sega CD, or Dreamcast often encounter issues with their laser assemblies—they can weaken, get dirty, or simply go out of alignment. Power jacks and their associated traces on the circuit board can also break or become intermittent from years of plugging and unplugging. Even something as simple as a blown fuse, often a consequence of a faulty power supply or internal short, can bring a console to its knees. Identifying these common failure points helps narrow down diagnostic efforts significantly. Learning more about capacitor types and their roles can be invaluable for anyone looking to undertake repairs; a good resource like